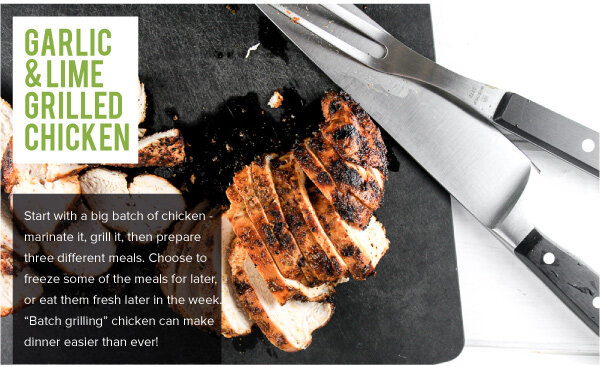
Garlic & Lime Grilled Chicken
Garlic & Lime Grilled Chicken:
6 chicken breasts - some now, some later
Marinade:
1 tablespoon lime zest (about two small limes)
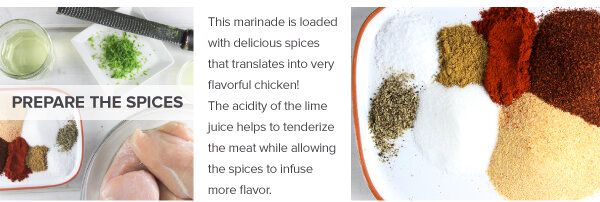
2 tablespoons chili powder
2 tablespoons garlic powder
1 tablespoon paprika
1 tablespoon cumin
1 tablespoon sugar
1 teaspoon pepper
1 teaspoon Kosher salt
1/2 cup vegetable oil
2 tablespoons fresh lime juice
Garlic & Lime Grilled Chicken Directions:
1. In a small bowl, combine the lime zest and the marinade spices: chili powder, garlic powder, paprika,
cumin, sugar, pepper, and salt. Stir together until evenly mixed.
2. Place the chicken breasts in a large bowl or in a sealable bag inside of a large bowl.
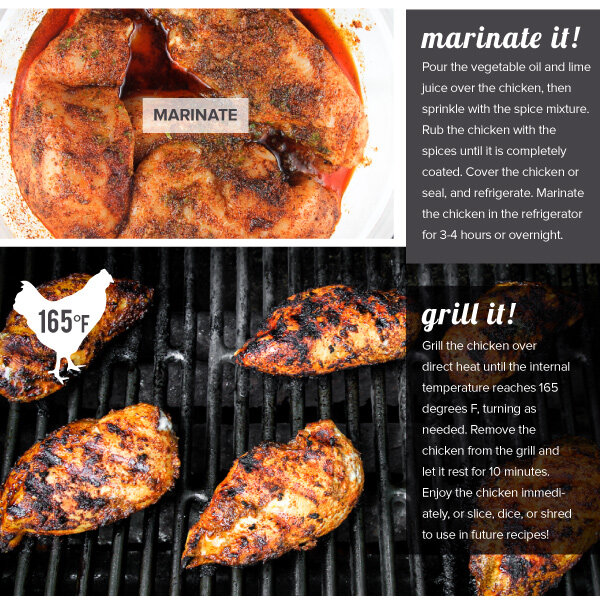
3. Pour the vegetable oil and lime juice over the chicken, then sprinkle with the spice mixture.
4. Rub the chicken with the spices until it is completely coated.
5. Cover the chicken and refrigerate. Marinate the chicken in the refrigerator for 3-4 hours or overnight.
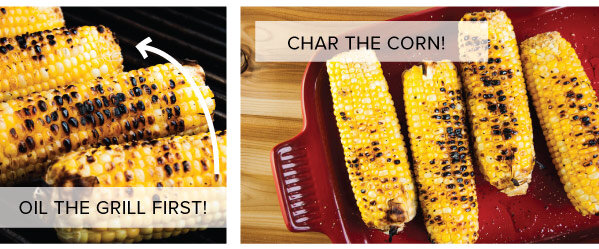
6. Fire up the grill! Heat the grill; ensure your grill grates are clean and well-oiled.
7. Grill the chicken over direct heat until the internal temperature reaches 165 degrees F, turning as needed.
8. Remove the chicken from the grill and let it rest for 10 minutes.
9. Enjoy the chicken immediately or slice, dice, or shred to use in future recipes.
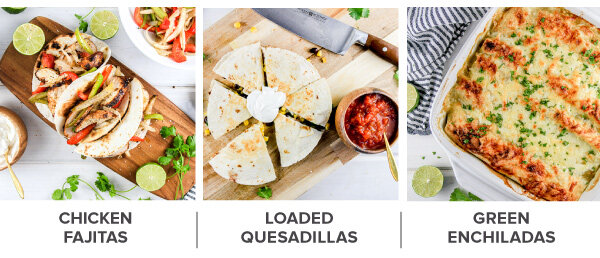
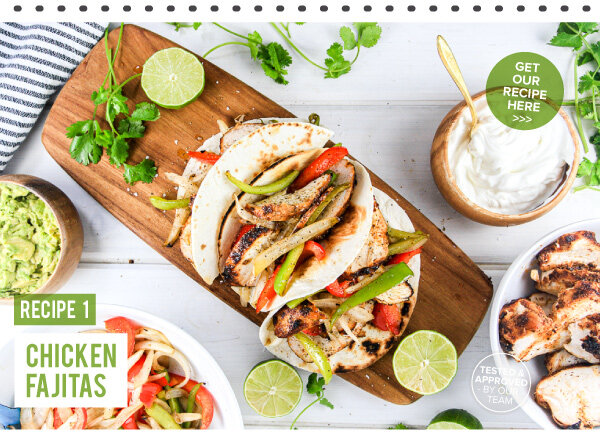
Chicken Fajitas
Serves 4
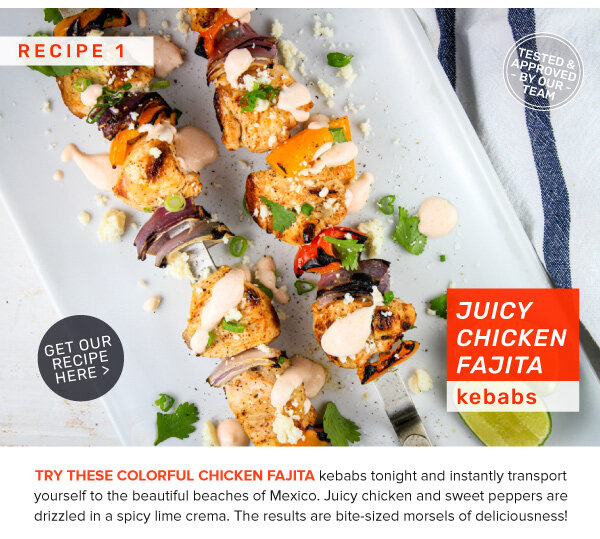
Fajitas are a colorful, delicious, and healthy option for getting dinner on the table quickly! With the chicken
already marinated and grilled, simply grill onions and peppers to add to the chicken. Complete the tasty
fajitas with an array of toppings! Some of our favorite fajita toppings include sour cream, cilantro, salsa, hot
sauce, a squeeze of lime, salsa, and a little guacamole!
Fajitas:
2 chicken breasts (marinated, grilled, and diced)
4 flour tortillas, warmed
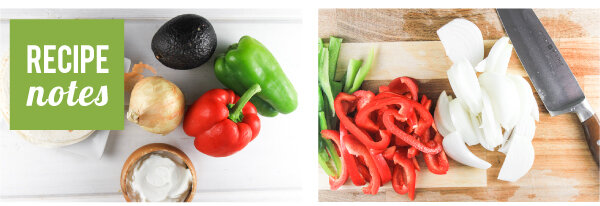
1 red pepper, sliced into strips
1 green pepper, sliced into strips
1 sweet onion, sliced pole to pole
2 tablespoons olive oil
1/2 teaspoon Kosher salt
1/2 teaspoon pepper
Toppings:
Sour cream
Avocado
Lime wedges
Fresh cilantro leaves
Salsa, and/or hot sauce
Directions:
1. Prepare the chicken breasts according to the Garlic & Lime Chicken directions above.
2. Prepare the veggies. In a large bowl, toss the sliced peppers and onion with the olive oil, Kosher salt, and
pepper. Grill the peppers and onion in a grill basket over direct heat or sauté in a skillet on the stovetop. Stir
the vegetables often and cook until slightly charred in spots and cooked to your desired tenderness.
3. Toss the cooked vegetables with the grilled chicken slices.
4. Serve with warmed tortillas and a variety of your favorite toppings.
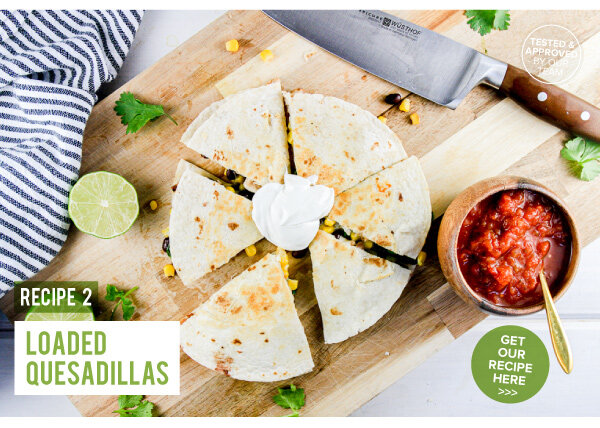
Loaded Chicken Quesadillas
Serves 4
These quesadillas are loaded with grilled and diced chicken, black beans, spinach, corn, and plenty of
cheese. We love quesadillas for lunch or dinner. Everyone can customize their order to their own preference.
Add additional flavor with a variety of toppings!
Quesadillas:
2 chicken breasts (marinated, grilled, and diced)
8 tortillas
8 oz pepper jack cheese, grated
1 can (15 oz) black beans, rinsed and drained
8 oz frozen corn, thawed
4 oz spinach leaves
Toppings:
Sour cream
Avocado
Lime wedges
Fresh cilantro leaves
Salsa
Pickled jalapeños
Hot sauce
Directions:
1. Prepare the chicken breasts according to the Garlic & Lime Chicken directions above.
2. Use a panini press or a skillet on the stovetop to cook the quesadillas.
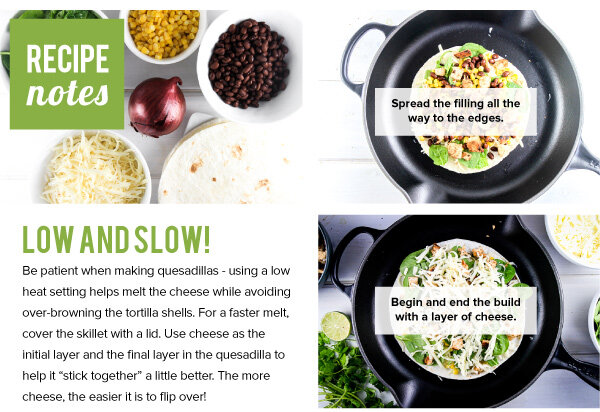
3. Load a tortilla with a layer of pepper jack cheese, then add all of the quesadilla ingredients: diced chicken,
black beans, corn, and spinach leaves. Finish with another layer of cheese, then top with another tortilla.
4. If cooking on the stovetop use low heat and practice patience while the cheese melts! Using a large
spatula, flip the quesadilla after the cheese has melted enough to hold it together.
5. Cut the quesadilla into wedges and enjoy warm with an array of toppings.
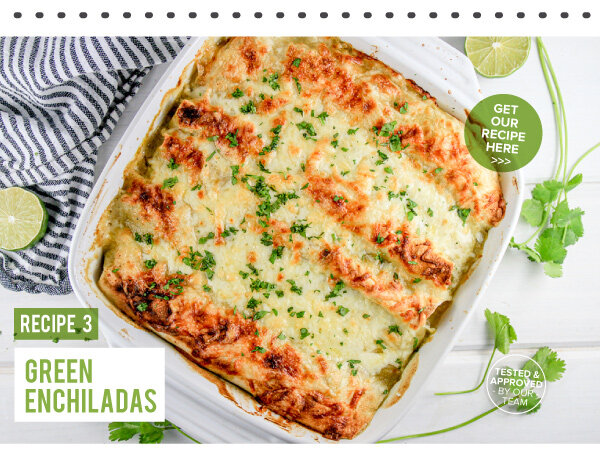
Chicken Green Enchiladas
Makes 8 enchiladas
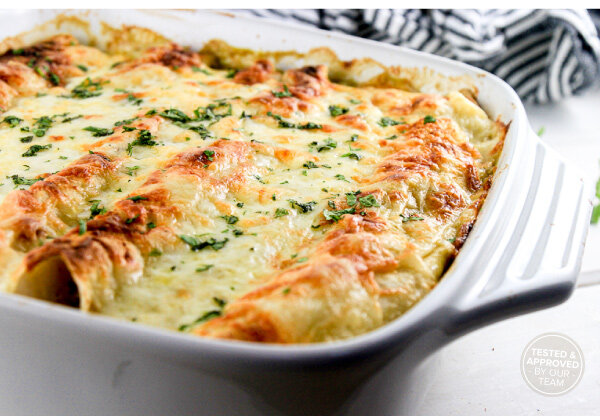
Cheesy and creamy, these green enchiladas are one great definition of comfort food! The green enchilada sauce
is enhanced with a filling of grilled and diced chicken, white beans, green chilies, cheese, onion, garlic, herbs, and
a little sour cream. After stuffing and rolling the enchiladas, add another layer of sauce on top. Don’t forget to
finish with a hearty layer of cheese. After baking, garnish with fresh cilantro. So tasty!
Enchiladas:
2 garlic & lime chicken breasts
(marinated, grilled, and sliced)
2 tablespoons olive oil
1 onion, diced
2 cloves garlic, minced
1 teaspoon dried oregano
1 teaspoon dried cumin
1/2 teaspoon Kosher salt
1/2 teaspoon freshly ground pepper
1 can (4 oz) diced green chilies
1 can white beans, rinsed and drained
2 cups Monterey Jack cheese, shredded
1 can (28 oz) green enchilada sauce
1 cup sour cream
Garnishes:
Lime wedges, Fresh cilantro leaves, Pickled jalapeños, Hot sauce
Directions:
1. Preheat the oven to 400 degrees F.
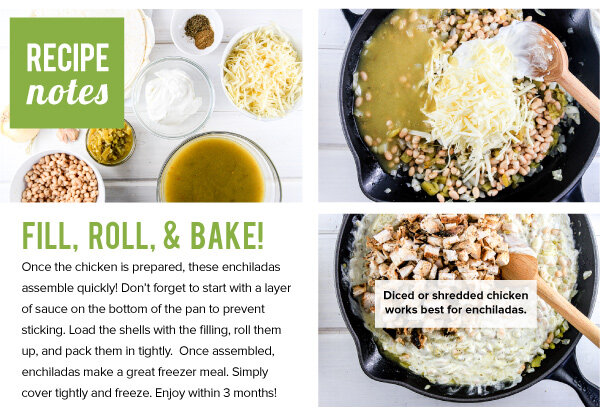
2. Sauté the onion and garlic in a large skillet until the onion is translucent. Season the onions with oregano, cumin, salt, and
pepper.
3. Add the green chilies, white beans, 1 cup of grated cheese, 1 cup green enchilada sauce, and 1 cup of sour cream. Stir to
combine. Add the diced chicken and fold together until combined.
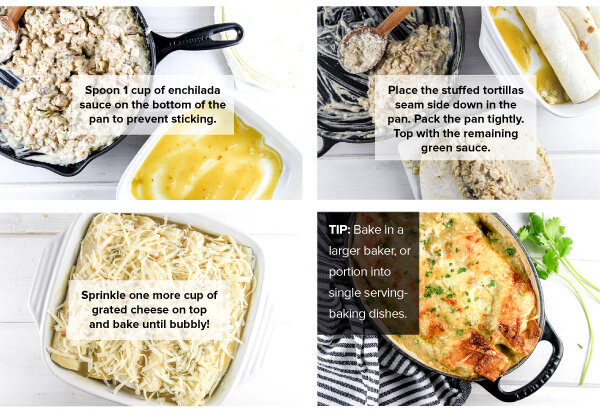
4. Spoon 1 cup of enchilada sauce around the bottom of the pan. This recipe makes about 8 enchiladas which can fit into a
standard 9x12 casserole pan, or individual sized dishes that fit 2 enchiladas each.
5. Fill the tortillas with a scoop of the chicken mixture and roll up tightly. Place the stu�ed tortillas seam side down in the pan.
Pack the pan tightly.
6. Spoon more enchilada sauce on top of the rolled tortillas. Sprinkle one more cup of grated cheese on top.
7. Bake for 20-25 minutes or until the cheese has started to brown and the enchiladas are bubbling hot.
8. Serve warm with your choice of garnishes.