
Bread. What’s not to love? A crunchy crust and soft, airy interior are just the beginning of our obsession. We love this recipe because it packs a serious flavor profile with minimal effort. It’s great for beginners, and takes less than three hours from start to a tasty finish. IN THIS ISSUE, we walk through the techniques of baking Dutch oven bread, and offer various success tips to inspire both novice and pro bakers alike!

Roasted Garlic and Rosemary No-Knead Dutch Oven Bread
Makes 1 loaf
Bread. What’s not to love? A crunchy crust and soft, airy interior are just the beginning of our obsession. We love this recipe because it packs a serious flavor profile with minimal effort. It’s great for beginners, and takes less than three hours from start to a tasty finish. A great recipe to inspire both novice and pro bakers alike!
Bread Ingredients:
1-1/2 teaspoon instant yeast
1-1/2 cups warm water (105° F)
1 teaspoon honey
1-1/2 teaspoon sea salt
2 tablespoons fresh rosemary, finely chopped
3 cups all purpose flour
1/2 teaspoon cornmeal
1 tablespoon olive oil, divided
1/2 teaspoon coarse/flaked sea salt
Roasted Garlic Ingredients:
1 head garlic
1 teaspoon olive oil
Directions:
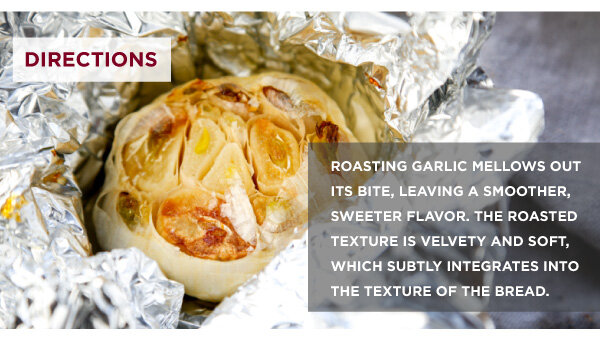
1. Heat the oven to 400°F. Cut o the top of the garlic bulb to expose the cloves and place in a garlic roaster or a square of aluminum foil. Drizzle the garlic with the olive oil and cover. Or, in the case of foil, twist the corners at the top to prevent any oil drips during roasting. Roast for 30 minutes or until the cloves are soft and slightly browned. Remove from the oven and cool. Once cooled, use a small fork to remove the cloves from the head of garlic. Mash the soft cloves into a paste-like consistency.
2. Meanwhile, combine the yeast, water, and honey in a large mixing bowl. Let the mixture stand for about 5 minutes to allow the yeast to activate (the mixture should become slightly foamy.)
3. Add the mashed garlic, salt, and rosemary to the yeast mixture. Slowly add the flour to the mixing bowl in one cup increments, stirring with a wooden spoon until all the ingredients are incorporated. Do not over mix; the dough will be quite shaggy and sticky, yet will form a loose ball in the bowl.
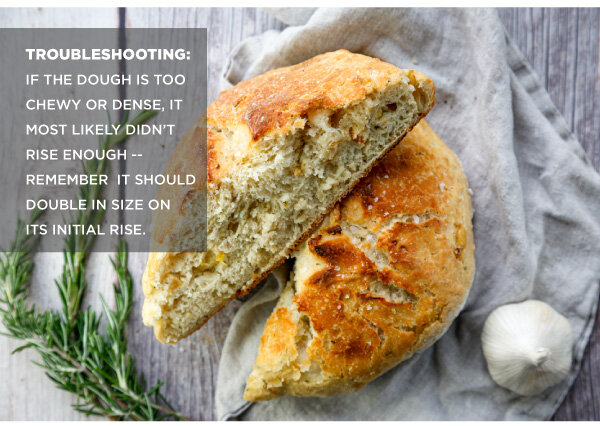
4. Sprinkle the dough with a small amount of flour on top. Cover the bowl with a kitchen towel. Let the dough rise on the counter in a draft-free area for about 1 hour, or until it has roughly doubled in size.
5. On a lightly floured surface, with lightly floured hands, gently guide the dough into a ball. Place it back in the bowl, cover, and let the dough rise for another 30 minutes.
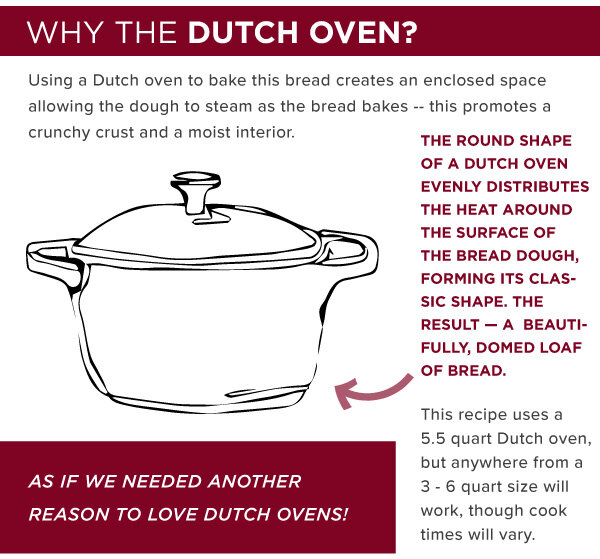
6. Preheat the oven to 450°F. Lightly coat the inside of an empty 5.5 qt. Dutch oven with 1/2 tablespoon of olive oil. Place the lid on the Dutch oven and put it in the middle of the oven. (Be sure to preheat the Dutch oven as the oven preheats; to avoid cracking of the pot’s enamel; never place a cold, empty Dutch oven in a hot oven.)
7. Lay a piece of parchment paper on the counter and sprinkle corn meal on the paper. Gently guide the risen dough out of the bowl and onto the parchment paper. Use the sides of the parchment paper to tip and coax the dough back into a circular form if it has lost its shape. Take care not to deflate the risen dough. Use oven mitts to remove the Dutch oven from the hot oven. Use the parchment paper to transfer the dough into the preheated Dutch oven. Brush the top with the olive oil. Use kitchen shears to cut an “X” on the top of the dough. Sprinkle the sea salt across the top.
8. Cover the bread with the Dutch oven lid. Use oven mitts to transfer the Dutch oven back into the oven. Bake for 30 minutes, until the bread is lightly browned. Remove the lid and cook for another 10 minutes, until the crust is nicely browned. The bread’s internal temperature should be between 195 - 210°F.
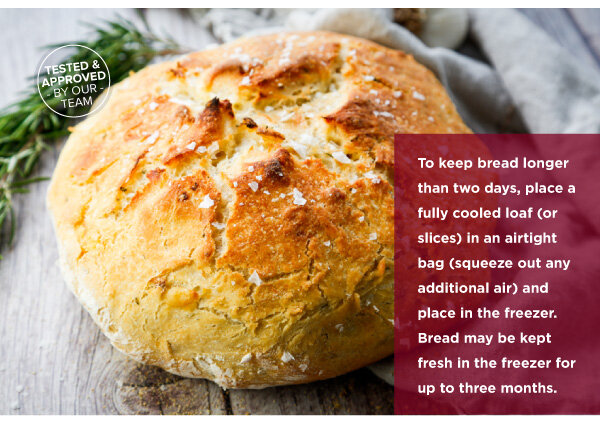
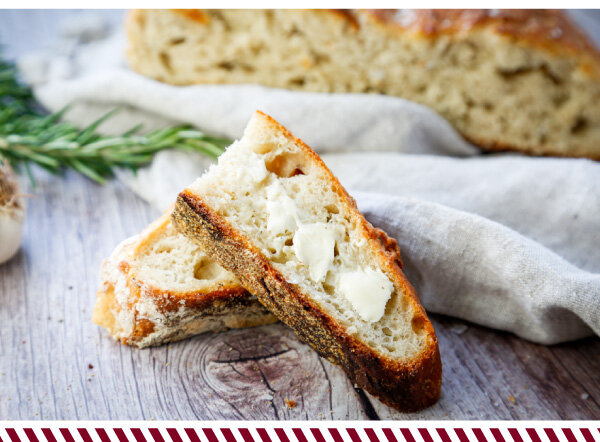
9. Cool on a cooling rack, then devour while warm, preferably with a healthy dose of butter and salt.