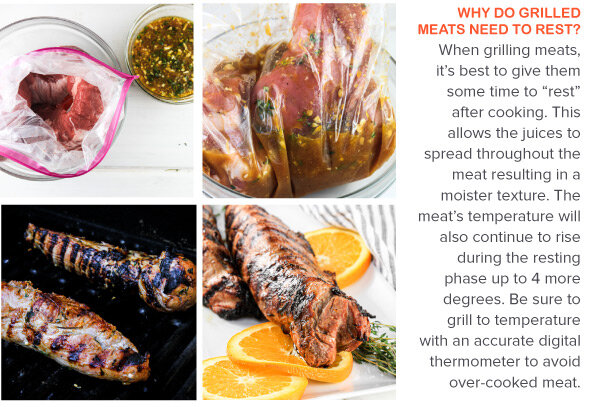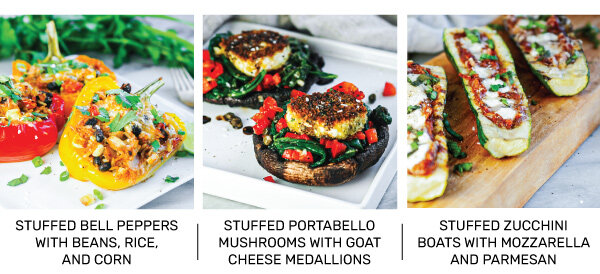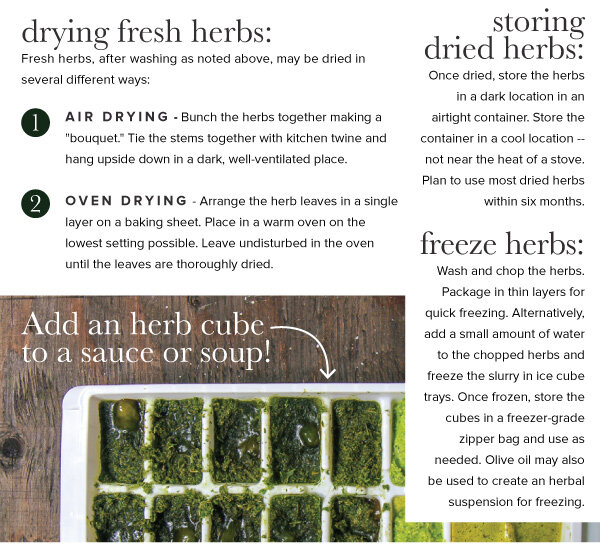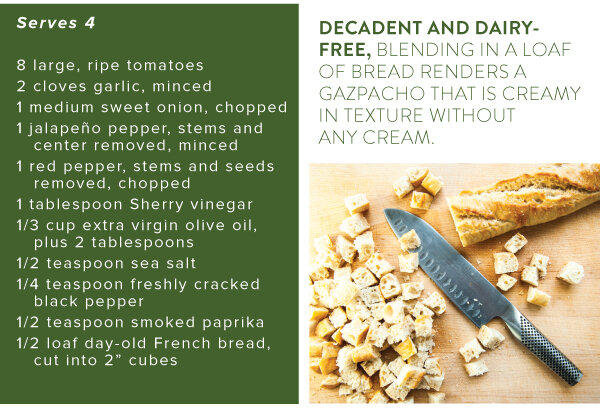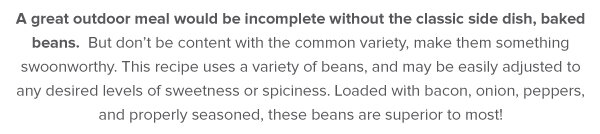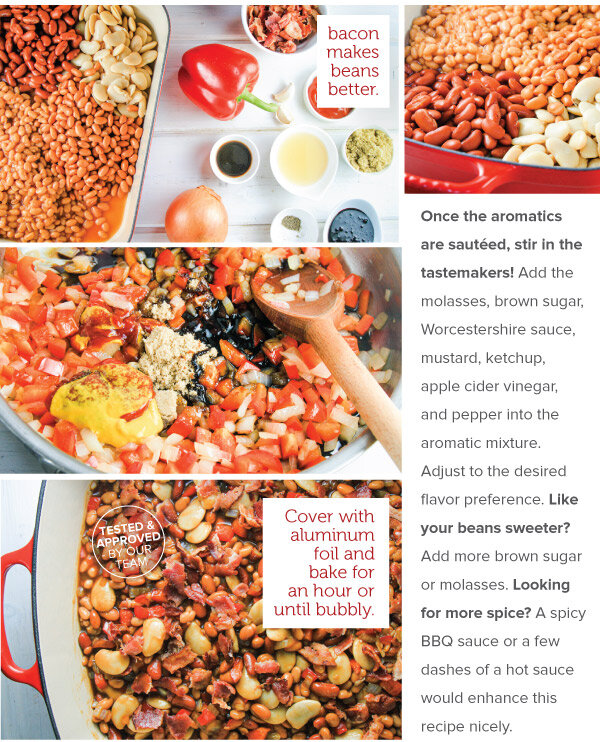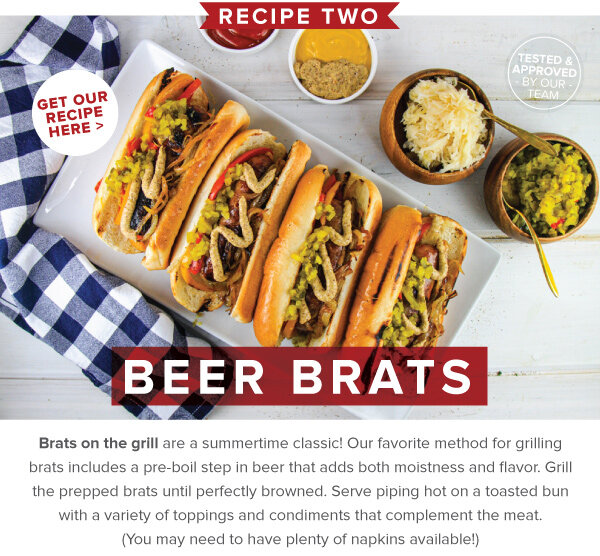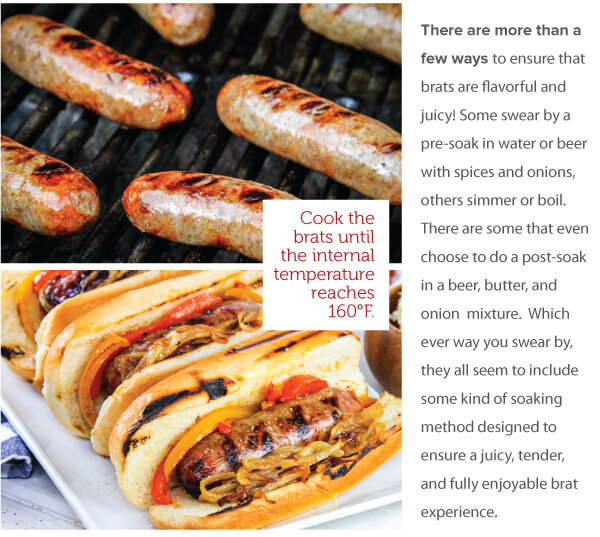

Fall flavors unite in a most delightful way in this creamy, dreamy pasta!
IN THIS ISSUE, butternut squash is transformed into a tasty sauce. The naturally sweet sauce is balanced with spicy sausage, then generously topped with savory cheese and crispy sage leaves. It’s a wonderful kind of deliciousness!
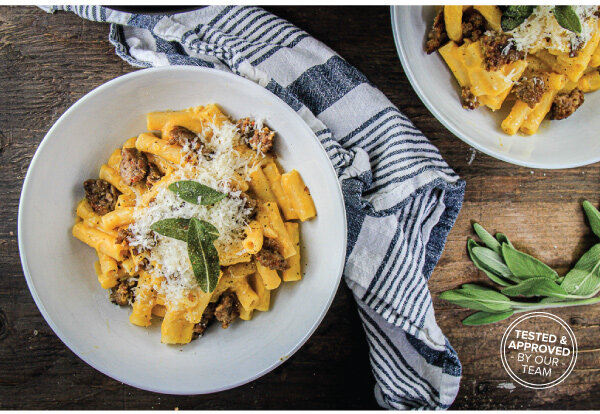

Creamy Butternut Squash Pasta with Sausage and Crispy Sage Serves 8 - 10
Fall flavors unite in a most delightful way in this creamy, dreamy pasta! Butternut squash is transformed into a tasty sauce. The naturally sweet sauce is balanced with spicy sausage, then generously topped with savory cheese and crispy sage leaves. It’s a wonderful kind of deliciousness!
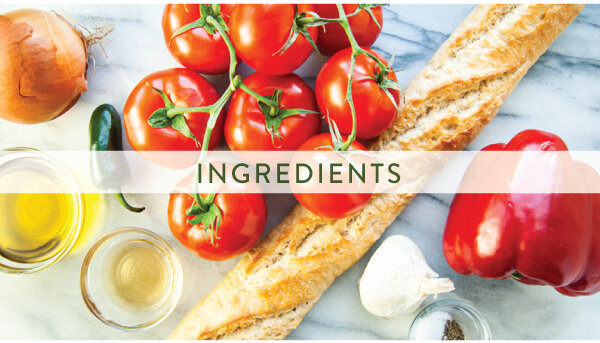
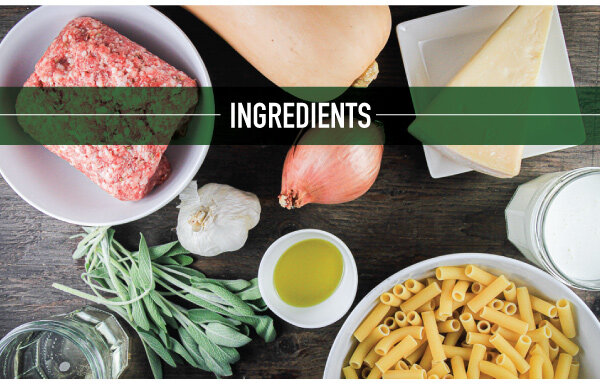
Ingredients:
1 medium butternut squash, peeled, cut in half, seeds removed
4 tablespoons butter
20-25 fresh sage leaves
1 lb hot Italian ground sausage
2 tablespoons olive oil
1 large shallot, finely diced
2 cloves garlic, minced
1/2 cup white wine
1 cup heavy whipping cream
1 teaspoon Kosher salt
1/2 teaspoon black pepper
2 lbs pasta, ziti or another tube pasta
Garnish:
crispy sage leaves parmesan cheese, shaved or grated
Directions:
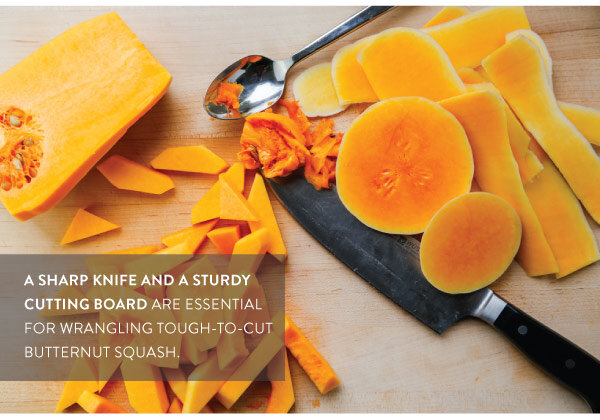
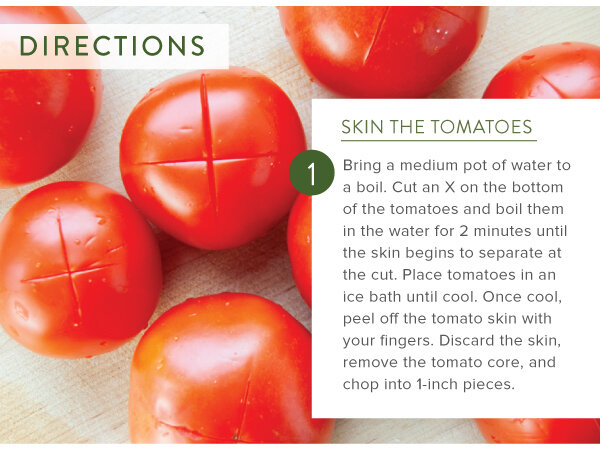
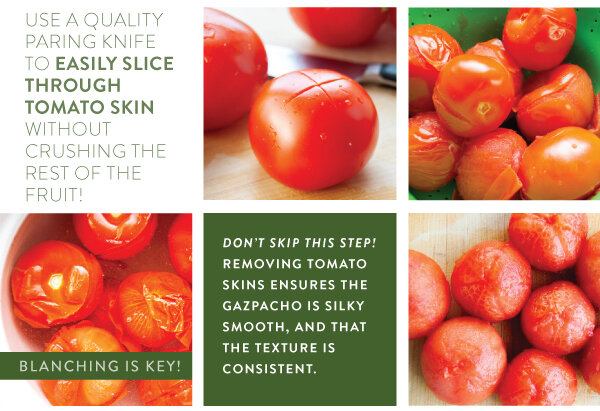
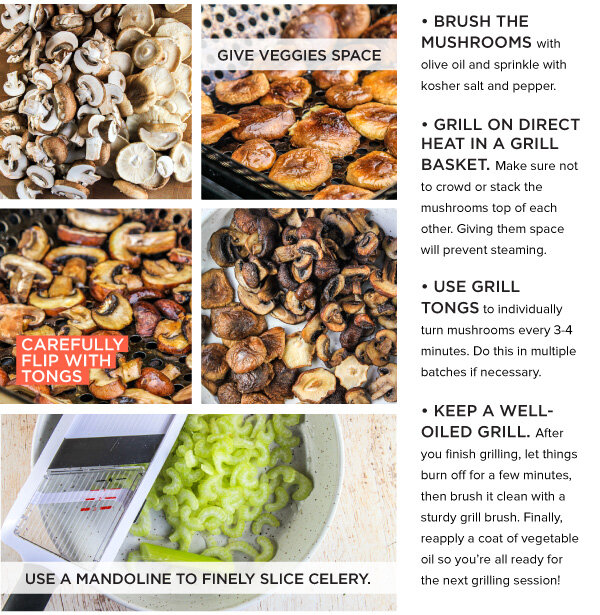
1. Prep the butternut squash: Wash the squash well, cut both ends o the squash to create a flat surface. Peel the squash with a peeler. Slice in half length-wise and scoop out the seeds.
2. Using a large pasta pot with a steamer basket, steam the butternut squash until it is fork tender, about 30-35 minutes.
3. Remove the squash and purée with a blender or immersion blender until it is smooth.
4. Meanwhile, in a large Dutch oven, sauté the sausage into bite-sized chunks until nicely browned. Remove the sausage from the pot. Set aside. Reserve the pot and drippings for the shallots, garlic, and the next steps in sauce making.
5. Next, in a nonstick skillet, prepare the crispy sage leaves. Melt the butter, then sizzle the sage leaves on each side until just crisp. Place the leaves on a paper towel-lined plate to cool. Reserve the sage butter to sauté the shallot and garlic, and for adding to the sauce.
6. Using the Dutch oven, add any remaining butter from the sage. Sauté the shallot and garlic until translucent. Add additional olive oil to sauté, as needed.
7. Once the aromatics are softened, add 1/2 cup of white wine and simmer until the wine is reduced by half.
8. Add the blended squash to the aromatics and stir until combined. Stir in the heavy cream. Gently simmer the sauce until the pasta is ready. Season with salt and pepper, to taste.
9. Meanwhile, cook the pasta until al dente, reserve at least 1 cup of the pasta water, then drain well.
10. Add the pasta to the sauce. Add up to 1 cup of reserved pasta water until the sauce reaches a silky consistency.
11. Add the sausage to the pasta. Dish the pasta, and garnish with a hearty portion of freshly shaved or grated parmesan cheese. Top each serving with several crispy sage leaves.